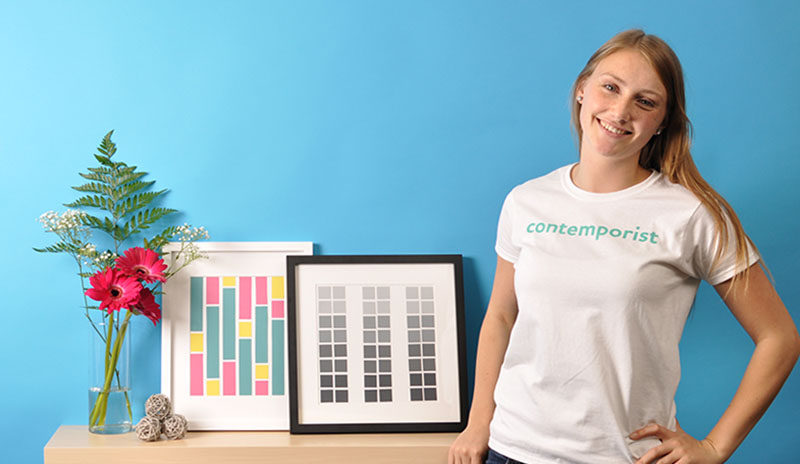
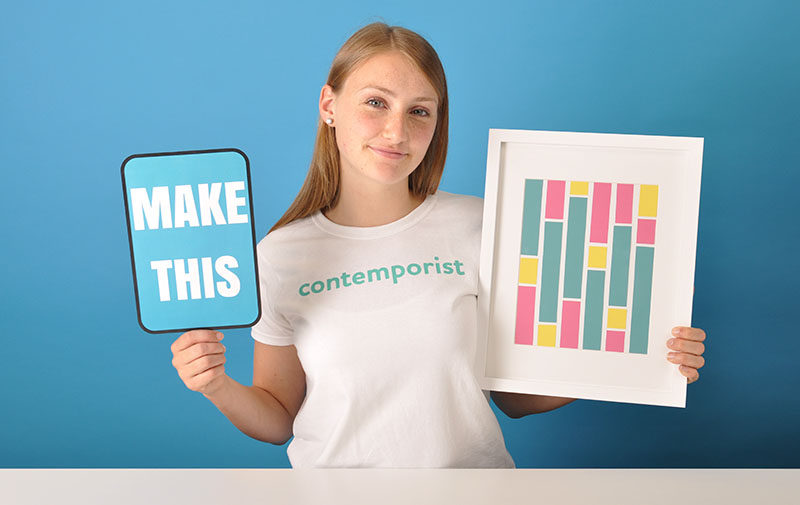
Hi contemporist friends! We’ve received a few emails from our readers, asking for some DIY projects that you can do to add a touch of contemporary style to your decor, so we thought we’d share with you how we created this simple paint chip art.
With virtually endless options in terms of color combinations, pattern ideas, and shapes; paint chip art is an easy way to create art that completely matches your decor. Follow the steps below to create your very own paint chip masterpiece.
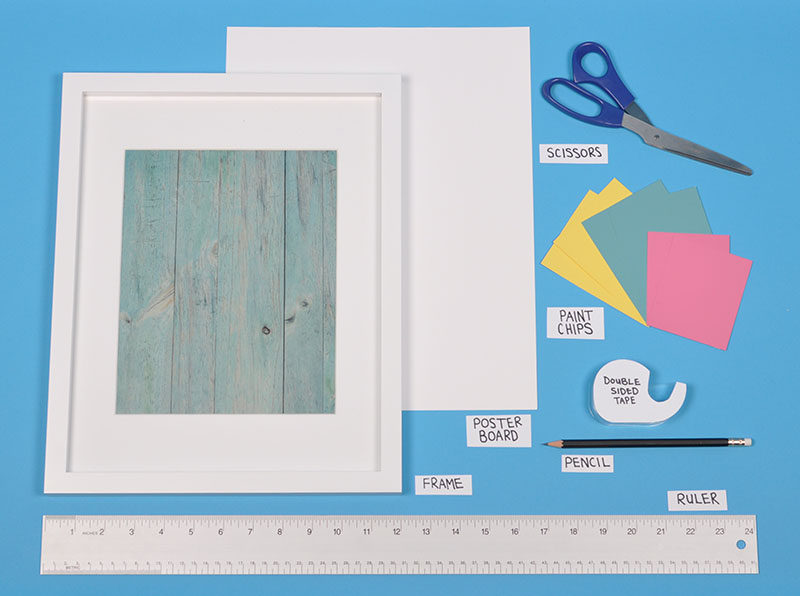
Before you can make your masterpiece, you’ll need to assemble the supplies.
To make your paint chip art you’ll need:
-
Paint chips in your selected color scheme
-
Scissors
-
Ruler
-
Pencil or marker
-
Double sided tape
-
Poster board pre-cut to the shape of your frame and a piece of scrap paper.
-
Picture frame
STEP 1: Have A Plan
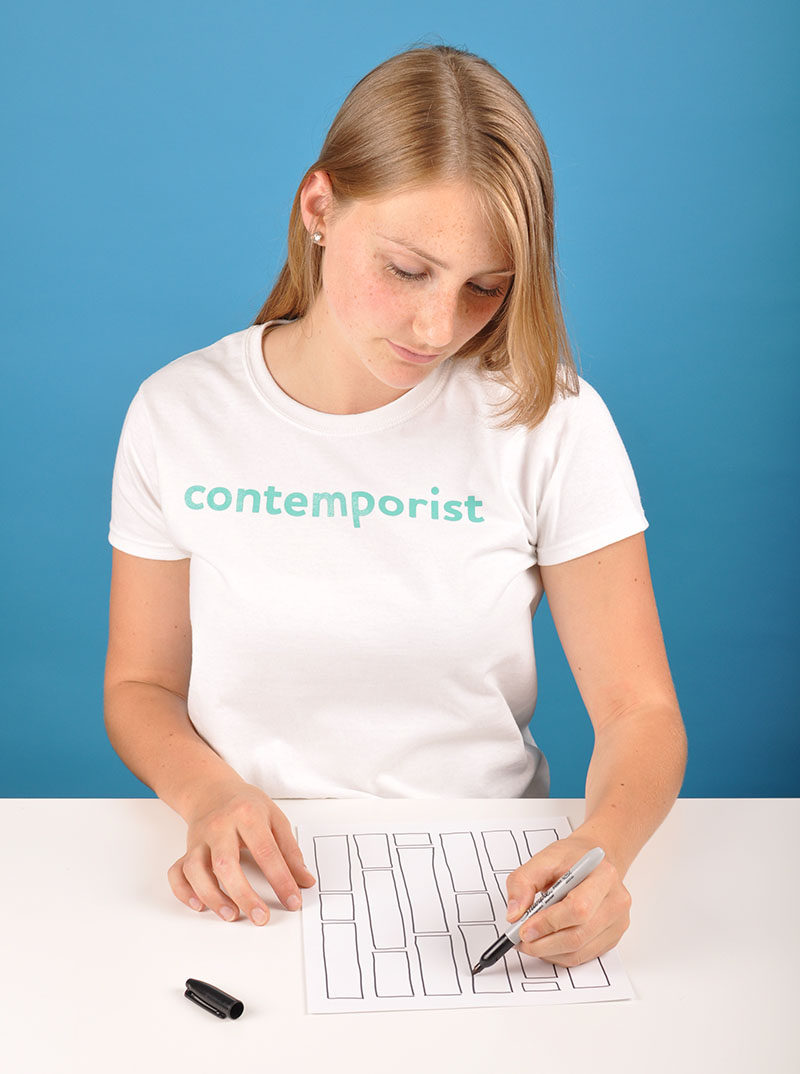
Create a quick sketch on a piece of scrap paper to help you visualize your idea and figure out the measurements for your paint chip pieces so they will fit in the frame perfectly.
Having a general idea of what you want the final product to look like can help you figure out how many pieces you’ll need and how big or small each one needs to be.
For ours, we drew a rough sketch and calculated the size of the gaps between each piece based on 1 inch (2.55 cm) wide strips inside a 7.5 inch (19 cm) wide frame. The results were a 1/4 inch (0.6 cm) gap between each row and a 1/8 in (0.3 cm) gap between each piece within the row.
STEP 2: Cut Out Your Shapes From The Paint Chips
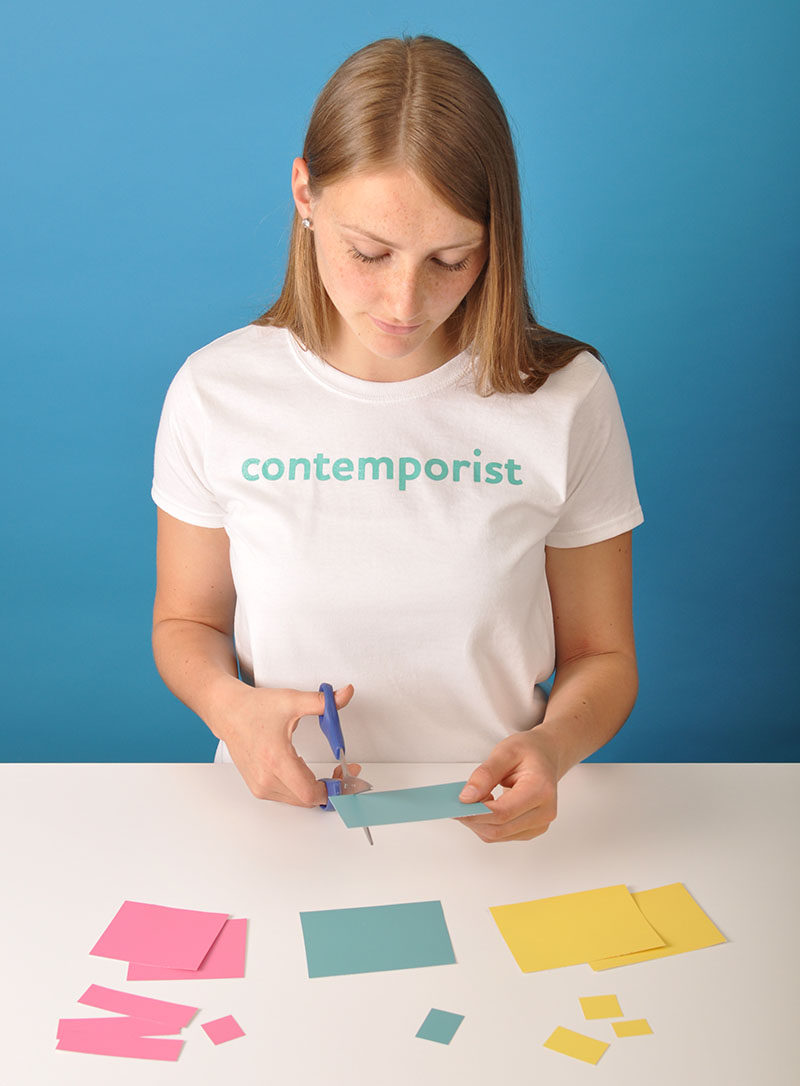
The possibilities are pretty endless but geometric shapes are the fastest to cut out and usually look the most interesting when pieced together. To make it easier, draw out the shape on the back of the paint chip before cutting it.
STEP 3: Arrange The Shapes On The Poster Board
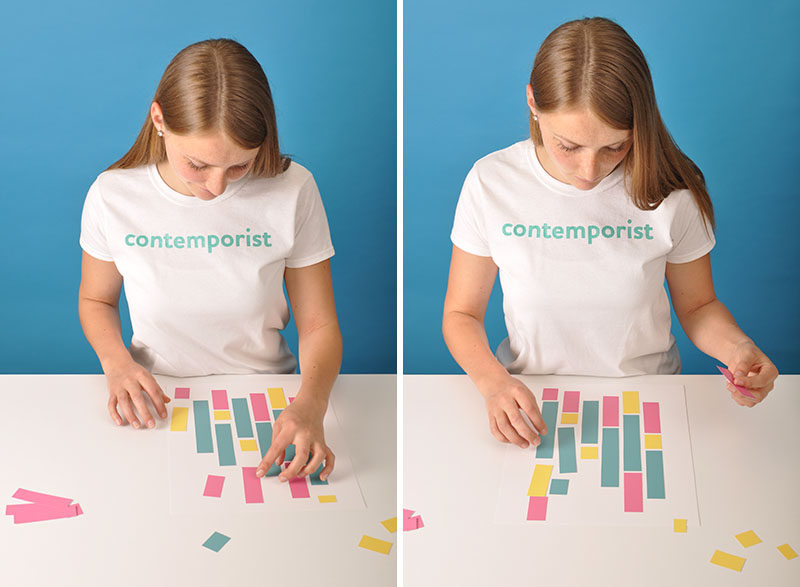
Reference your original drawing and the play around with shapes to figure out what you want your design to look like and how you want your color patterns or color gradients to look.
STEP 4: Lock’em Down
Once you’re happy with your design and the way the colors look together, use double sided tape to secure your shapes to the poster board.
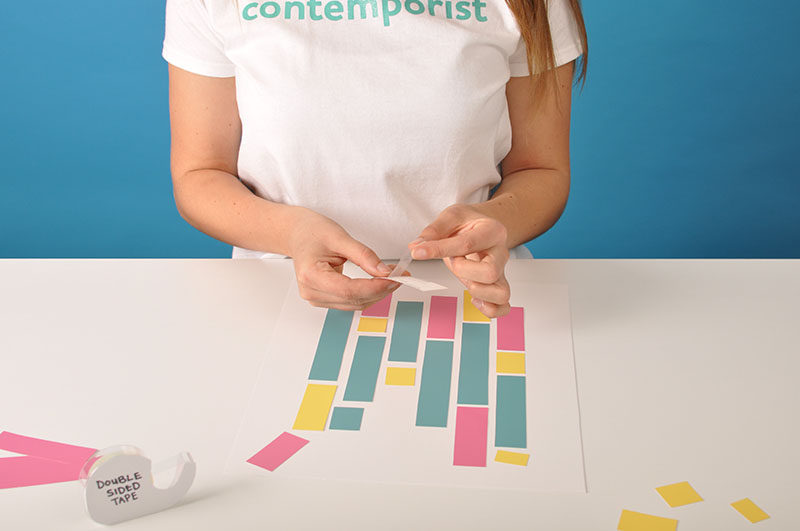
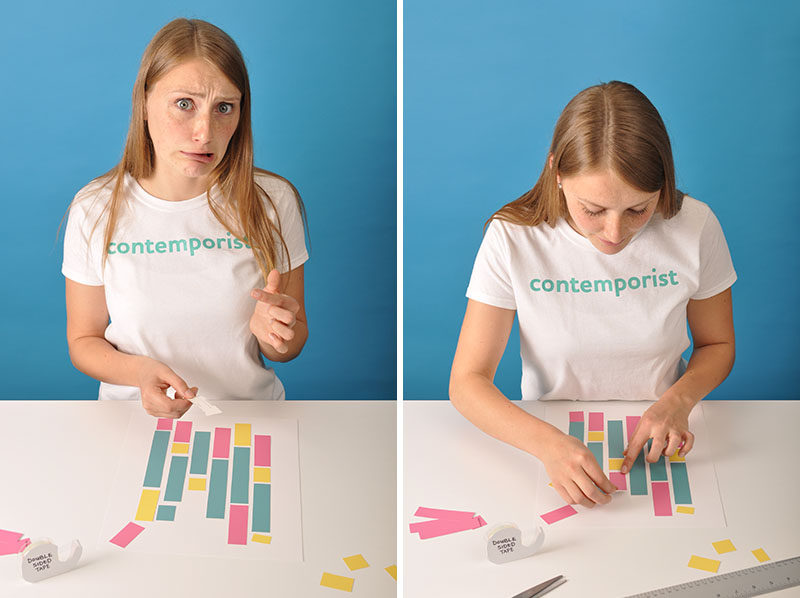
Quick Tip – Don’t worry if you mess up!
The poster board is very forgiving, and by using double sided tape you can give the shape a little tug and it will pop off without leaving a mark, letting you re-position the piece.
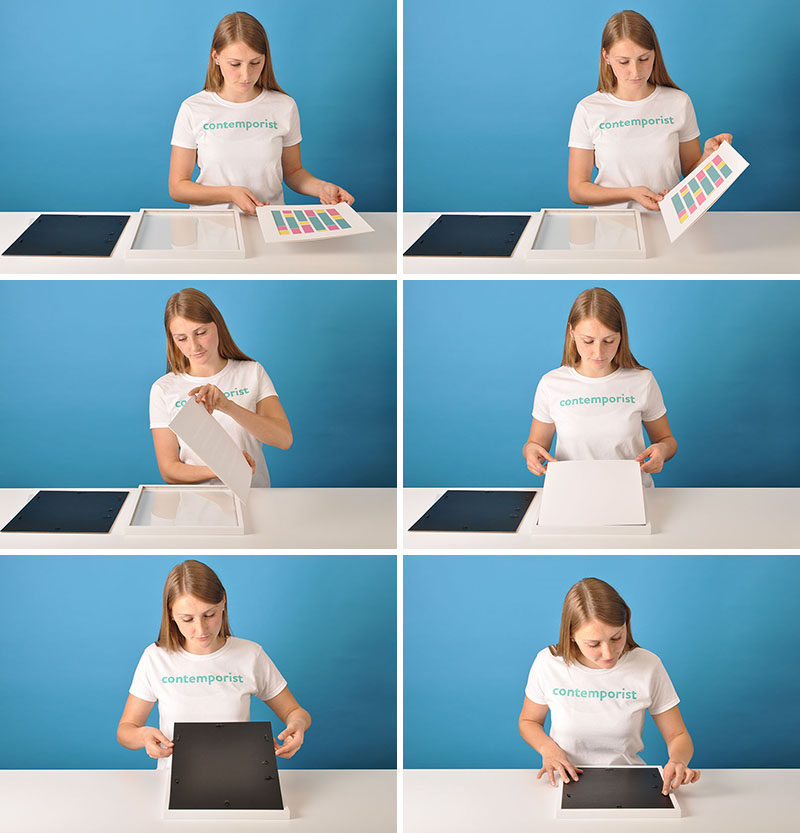
STEP 5: Put It In The Frame
Once you’ve successfully placed all of your pieces on the poster board and secured them, all you need to do now is place it in the frame.
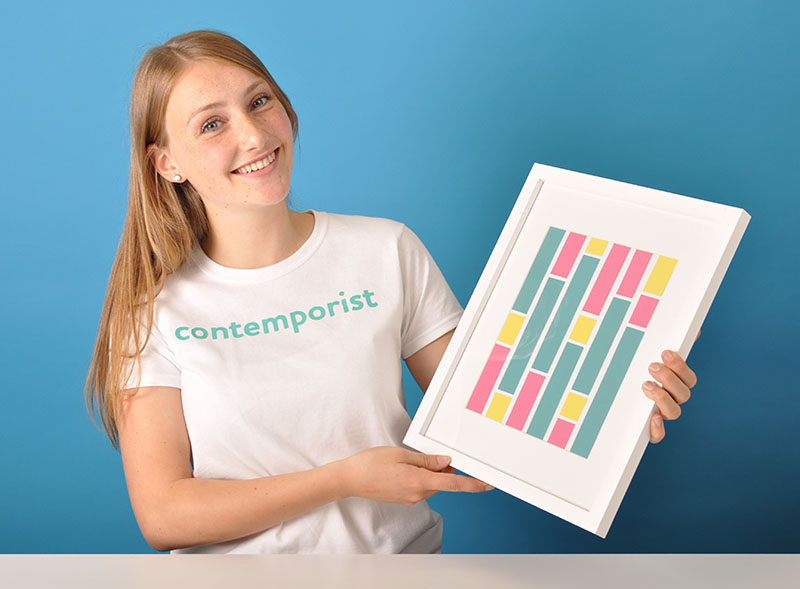
STEP 6 : The End Result
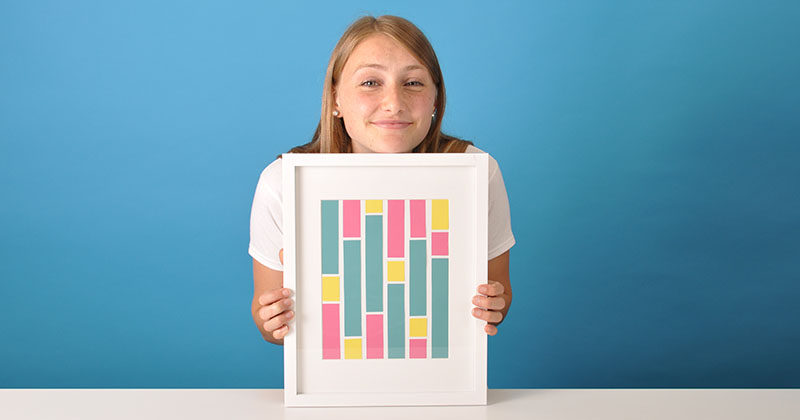
Here it is, a bright and colorful custom piece of artwork.
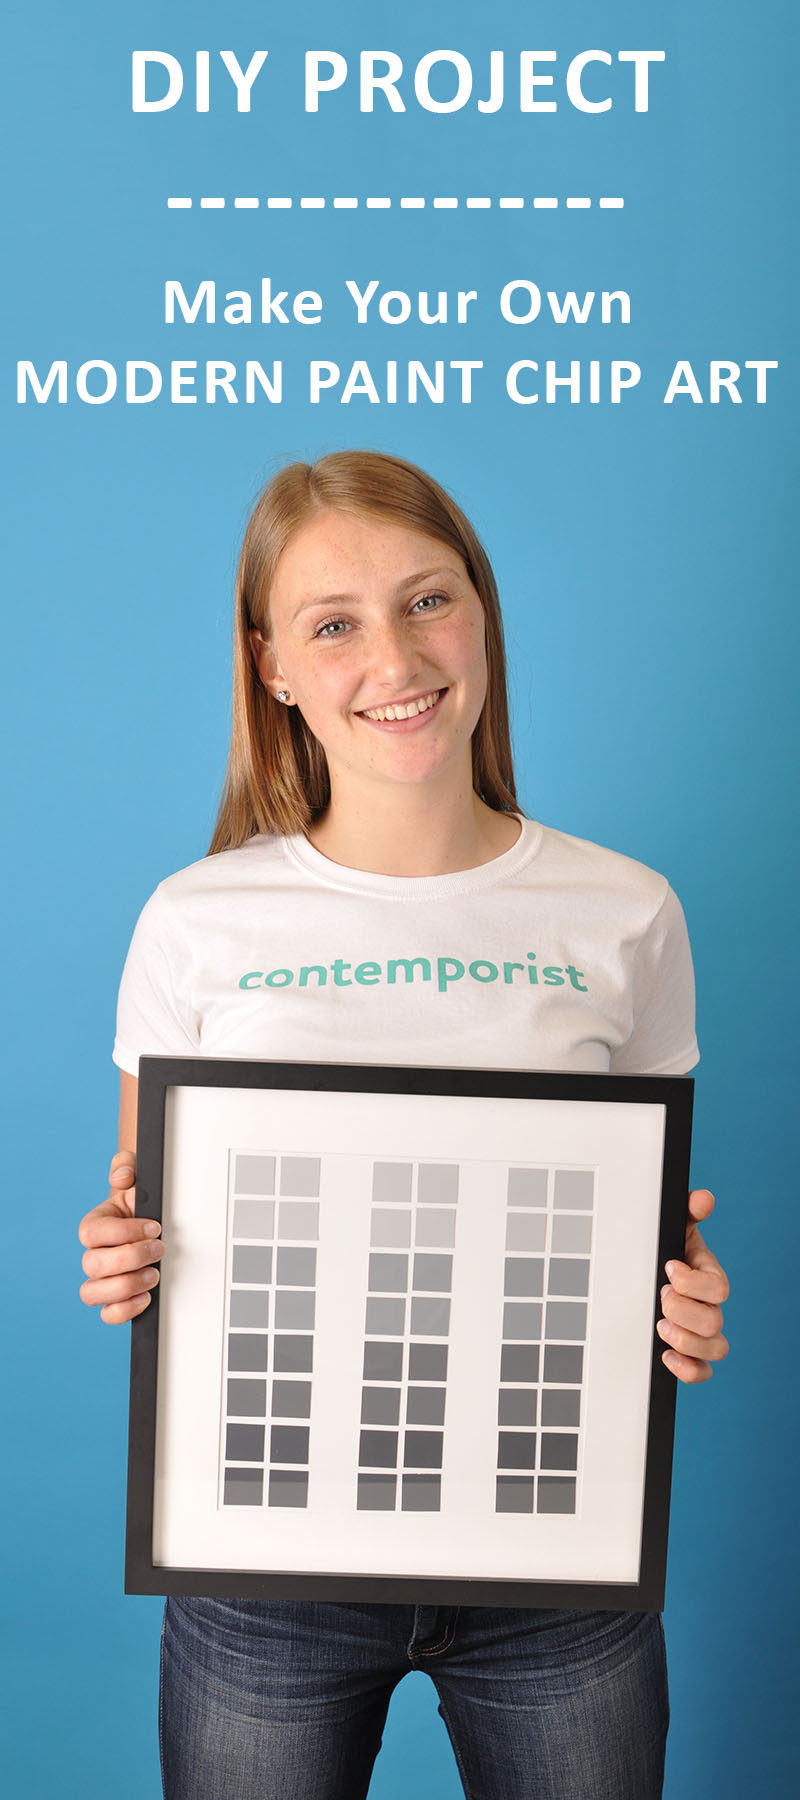
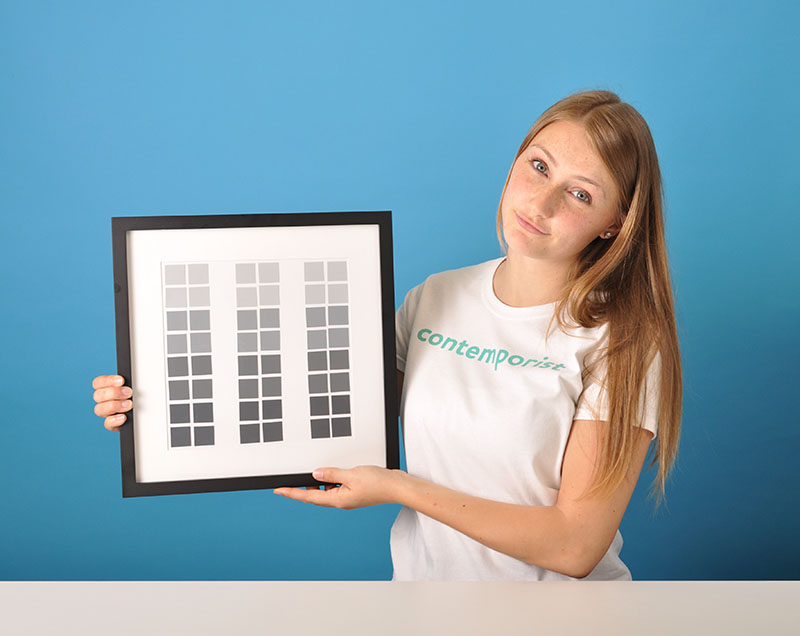
We also did one in gray tones and a different layout in case you want some inspiration for a more neutral color palette.
STEP 7 : Show It Off!
Now it’s time to hang it up, place it on a cabinet or put it on a shelf!
